Creating an API With AWS API Gateway

Introduction
Eventually as your projects get more complex, you will soon find the need for hosting your own API. There may be a few different reasons for this, such as needing to make requests to an external API from your frontend, wanting to complete operations within your database, or even sending commands to your Arduino from your own website instead of the Arduino IOT Cloud website!
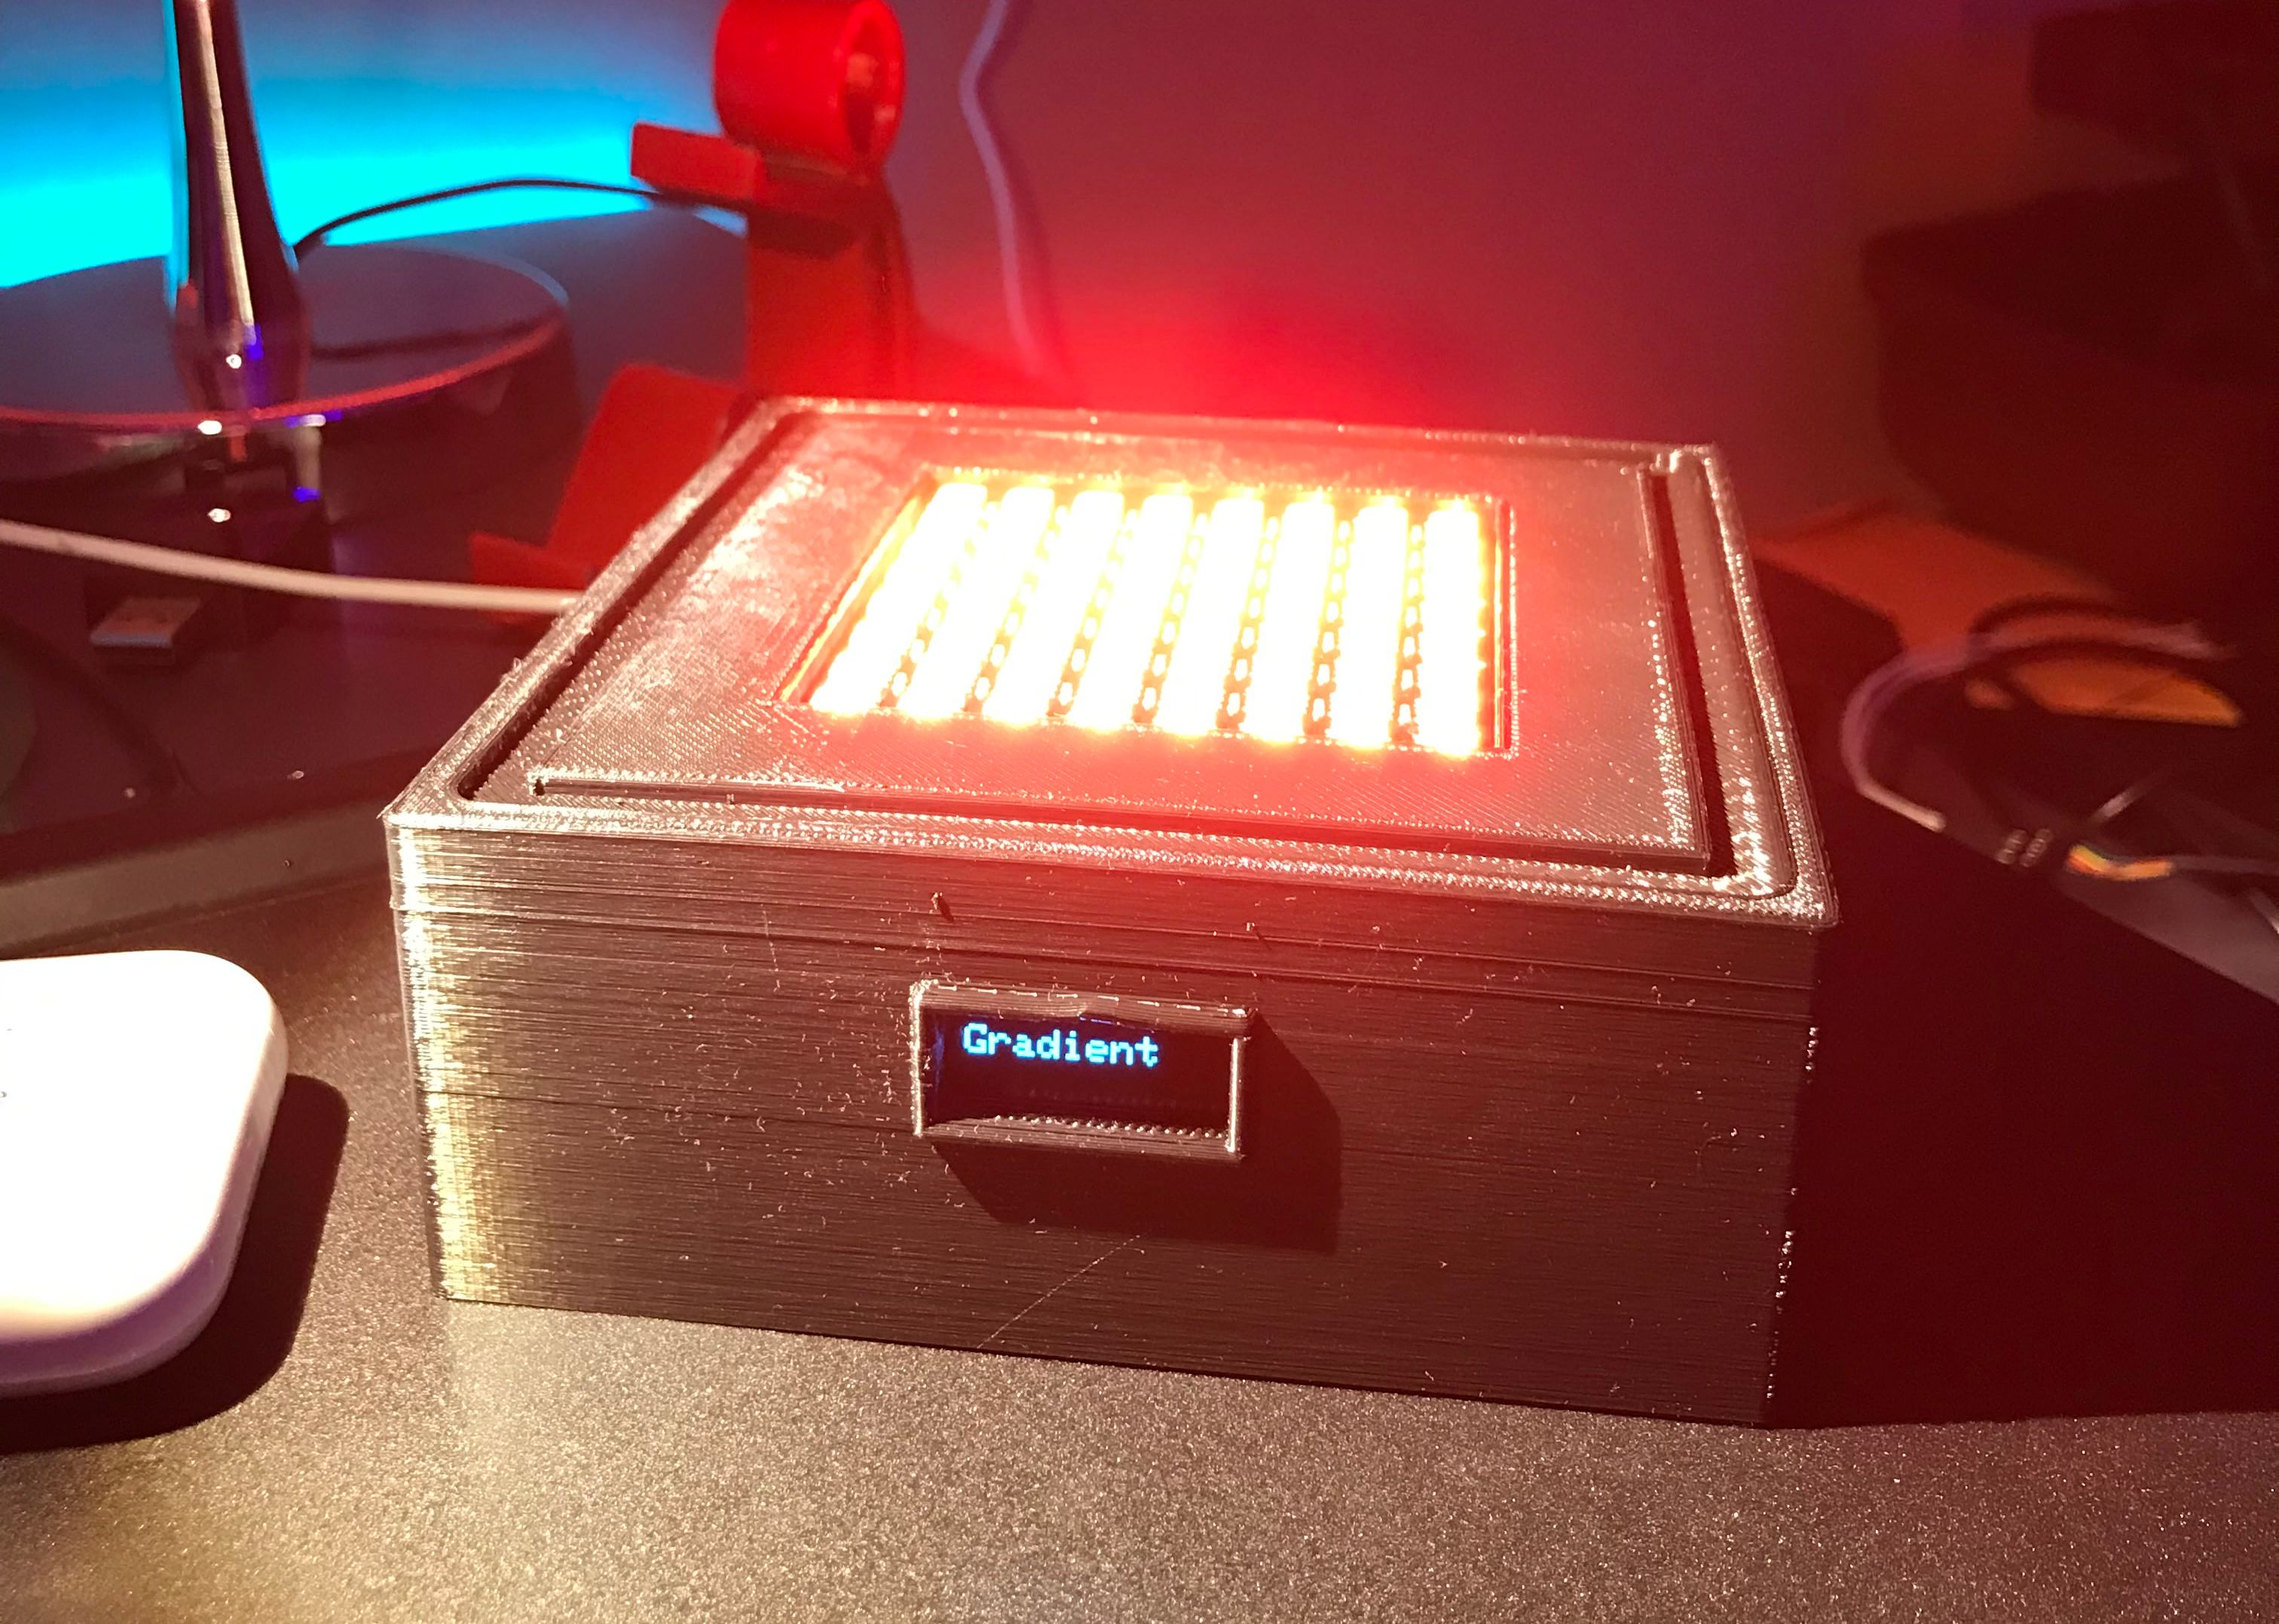
A 3D printed lamp I created which is controlled from a website I created, which used an API to send commands to the Arduino inside
The first step in creating an API with API Gateway is to determine what you want your API to accomplish. This could mean retrieving crypto prices from an authenticated API, or communicating with the Arduino IOT Cloud. Any of those specific use cases are beyond the scope of this tutorial, so for this tutorial our API will just send the current time from the server it is running on.
The most effective way to run the code for an API running in AWS is with the use of Lambda functions. These are pieces of code which could be written in many different languages such as Python, Node.js, or Java; which are only run when needed -- which incurs a minimal cost on the user. This is much cheaper than using EC2 or some other method for running code in AWS.
Now that we know what our API is going to do, and what service we will use to run the code for it, we're ready to start programming!
Creating a Lambda Function
The first thing you'll want to do is navigate to AWS Lambda and click "Create Function"
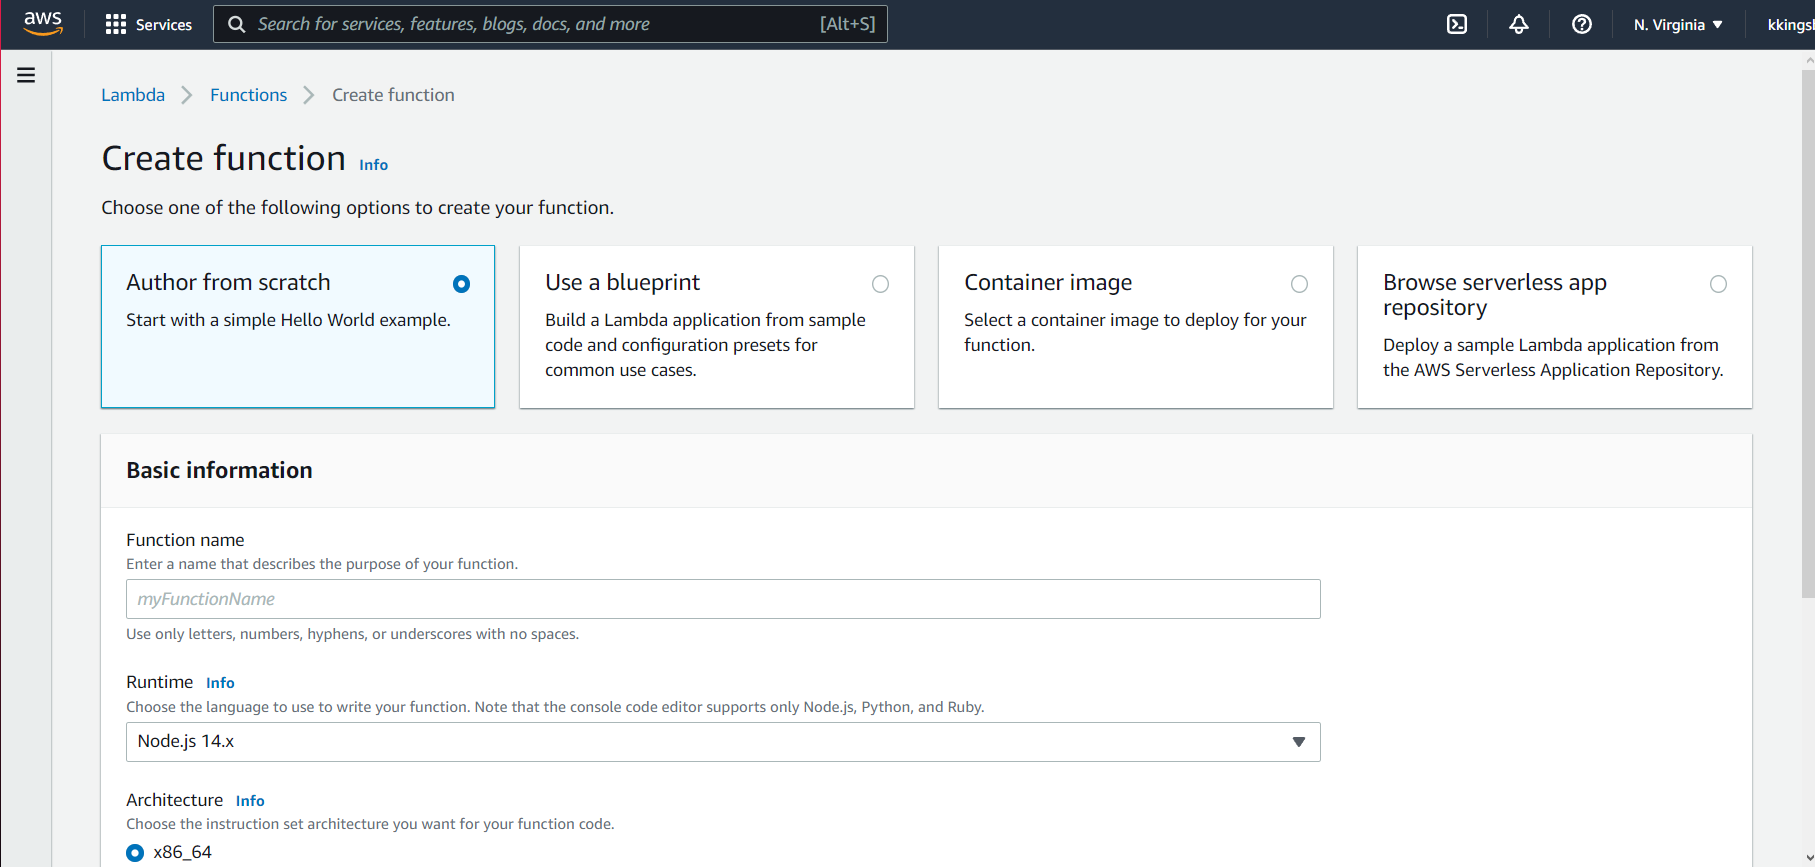
In this screen, you can give your new function a name, and change the runtime to whichever language you would like to program it in. For this tutorial I will be keeping it on the default which is Node.js. Once you're done with configuration you can click "Create Function".
Writing the Code for your API
Now, you should see an example Lambda function on your screen. We are going to step through what this function does, and then rewrite it to fit our needs.
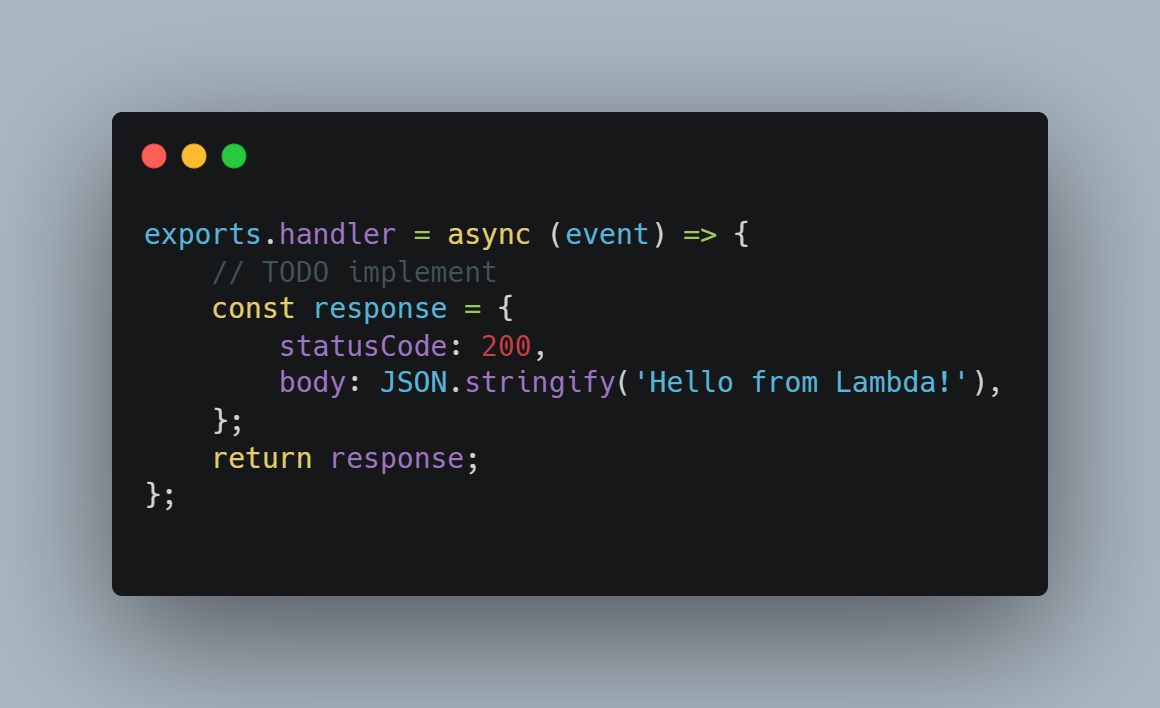
This function is quite simple. the event parameter is an object which contains the information that is being passed into your function; which in our case will also contain the data being sent to your API. This function then creates a response object with a statusCode variable inside which stores the status code being returned. Inside, there is also a body variable which stores the actual response.
Now that we know this, lets modify this function to send the current time!
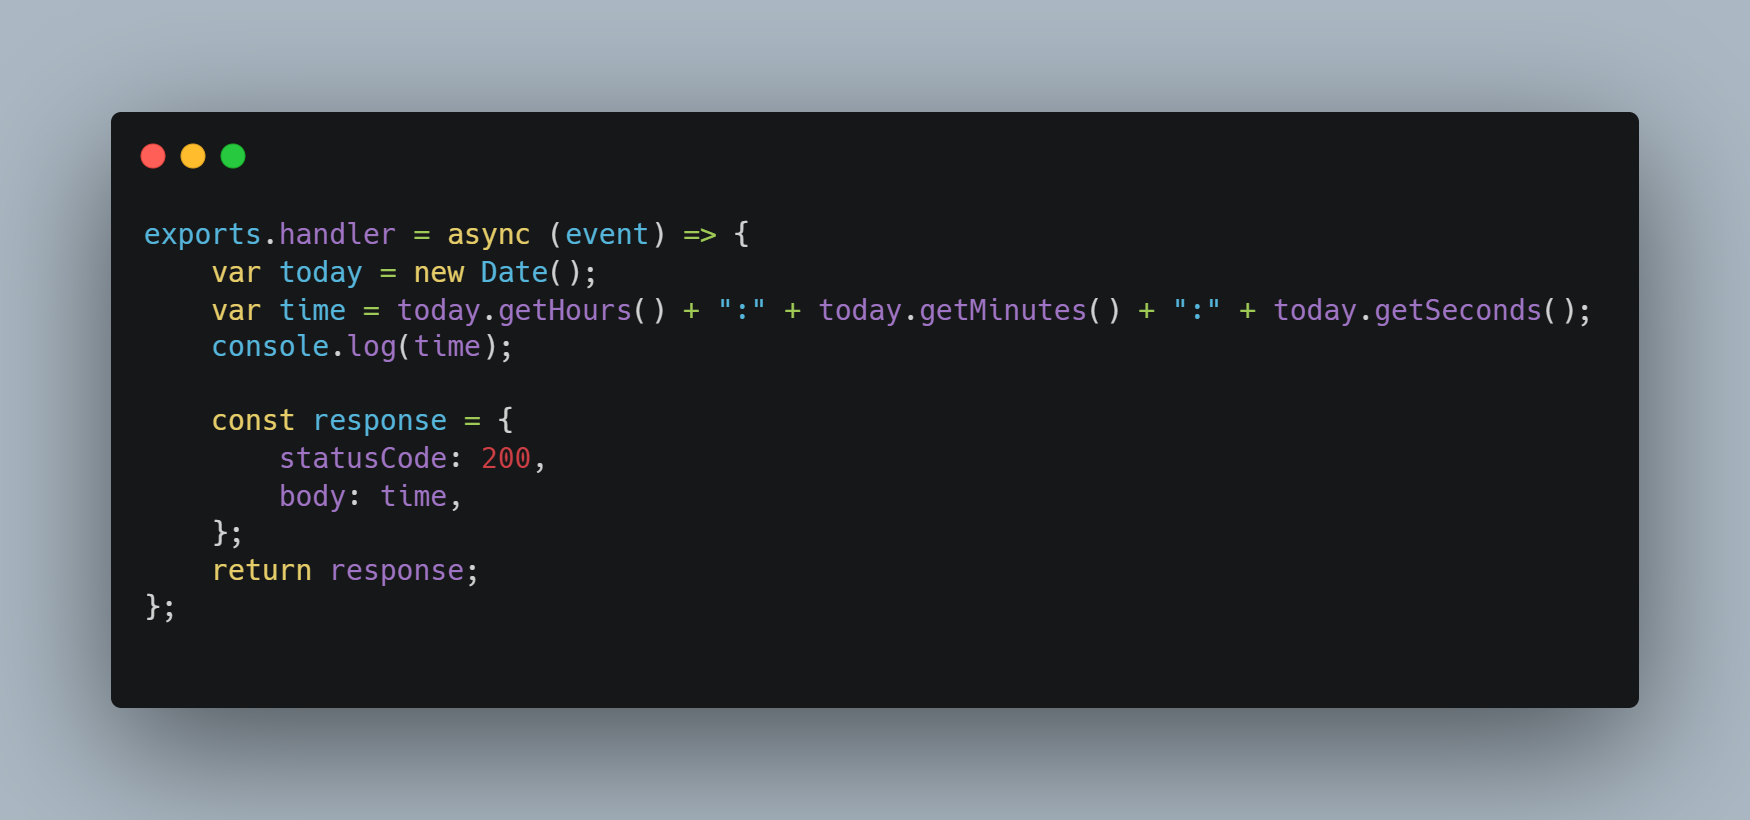
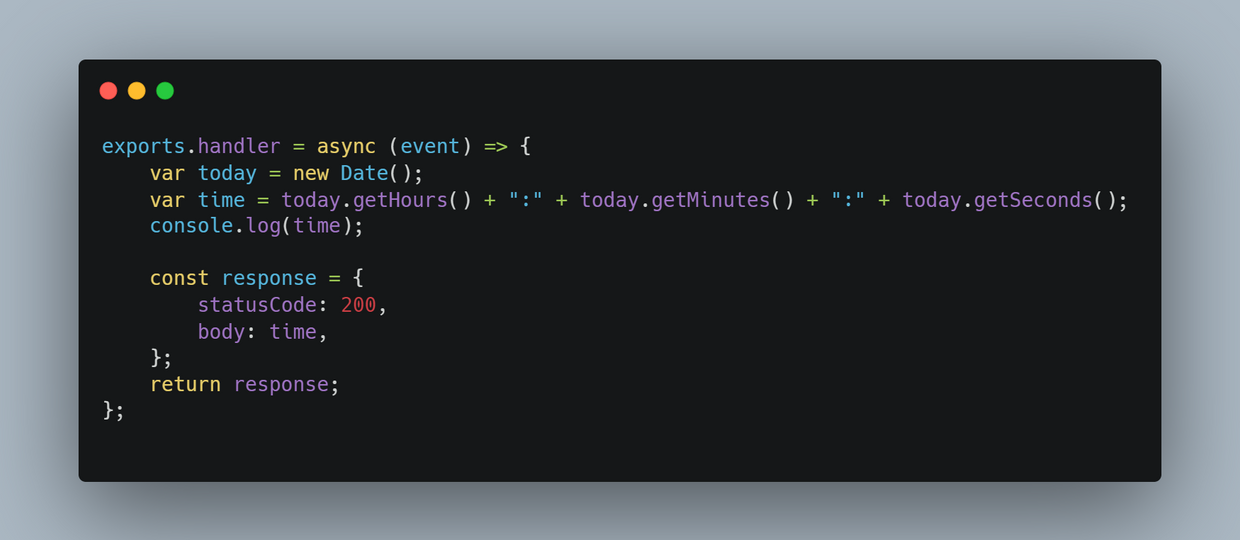
As you can see, I added two lines to the beginning of the function. The first line creates a new Date object called today, and the line after creates a variable called time, and calculates the current time from the today variable. After that, I modified the body within the response object to now use the current time that we calculated.
Creating a new API
In order to create an API with AWS API Gateway, you'll first need to create an account with AWS at https://aws.amazon.com/console/. Once you've done that, you are ready to begin this tutorial.
Navigate to API Gateway
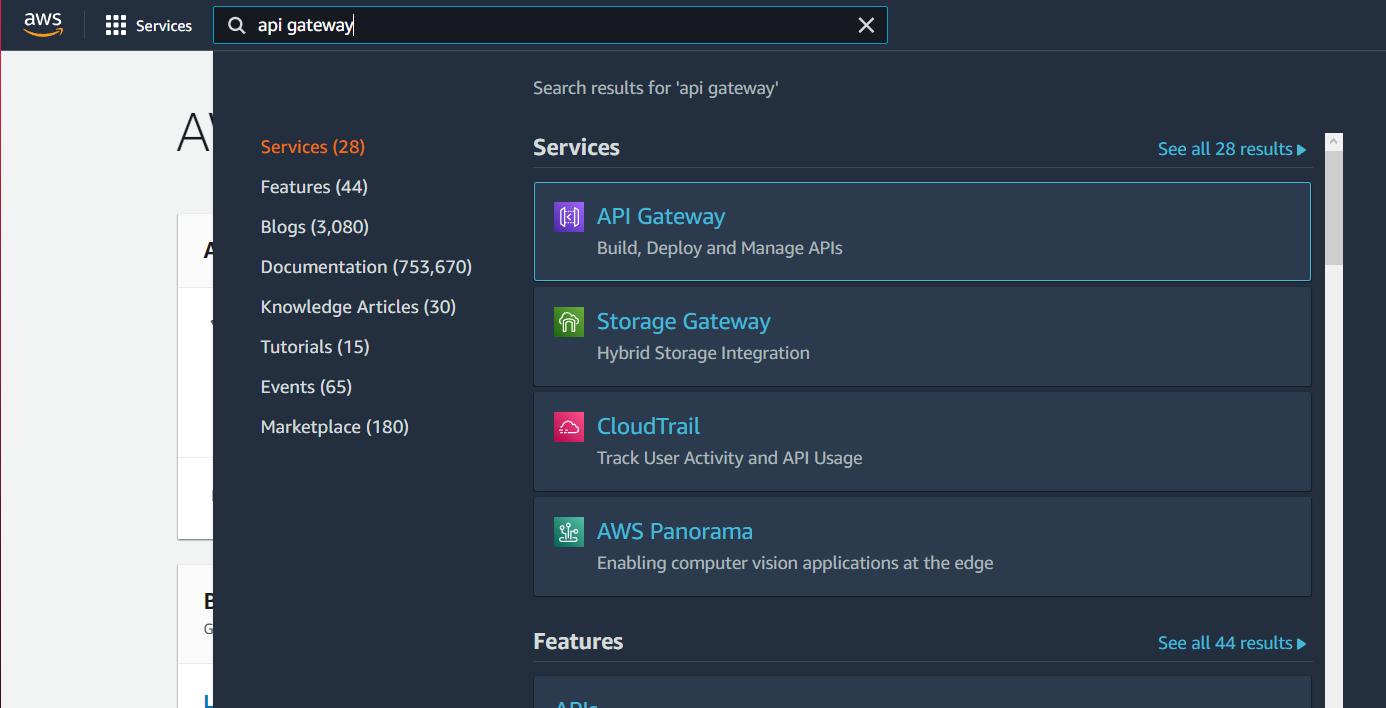
Next, we'll want to navigate to the AWS API Gateway. To do this, just search for "API Gateway" in the search bar at the top and click on the first result.
Create a new API
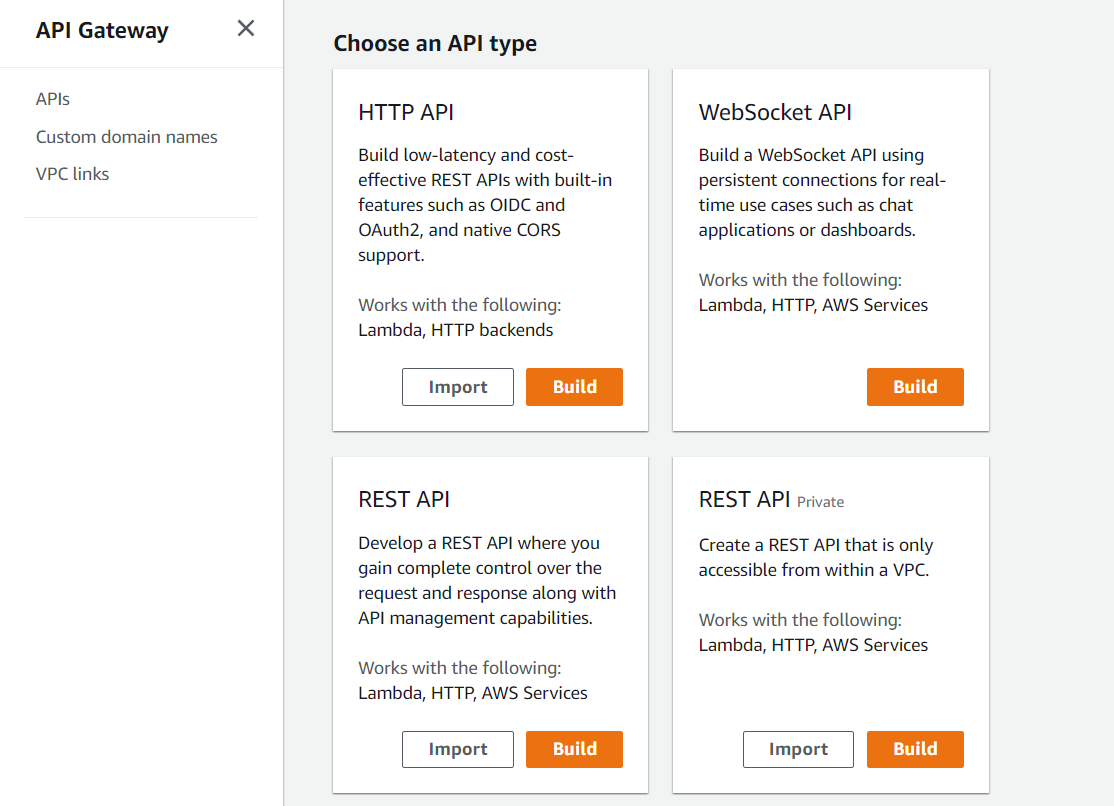
After that, click "Create API" on the top right. Inside of this page you are able to choose which type of API you would like to create, which in this case will be an HTTP API, which you can click build on.
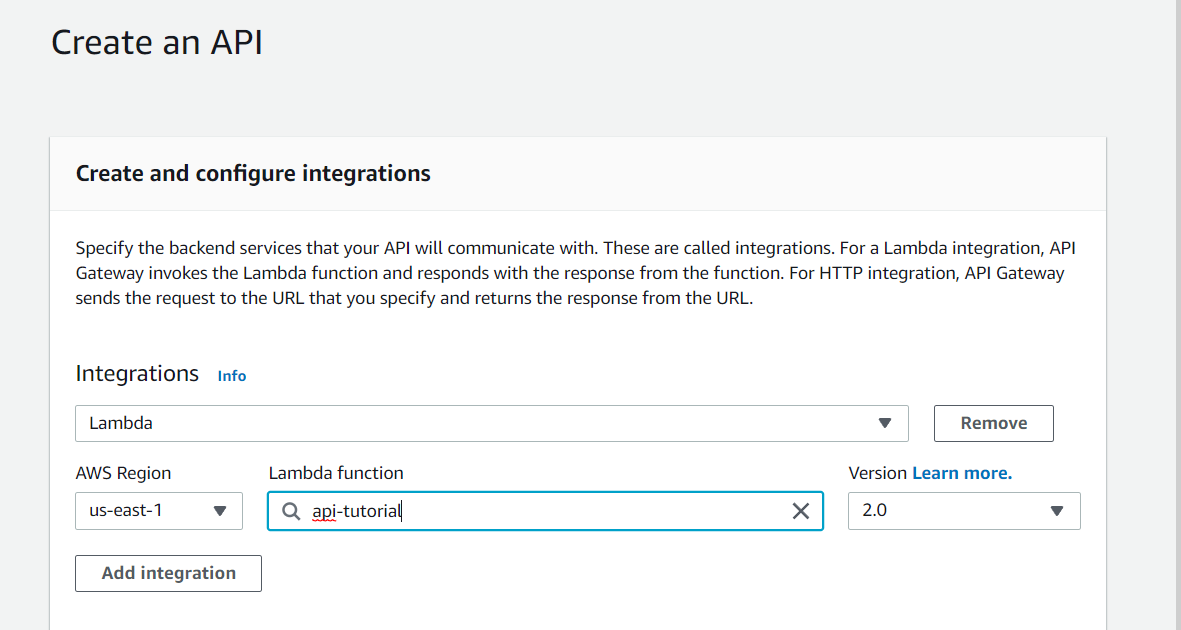
Next, we want to connect our Lambda function to our API. To do this, choose "Lambda" under Integrations, and choose your Lambda functions name from the dropdown below.
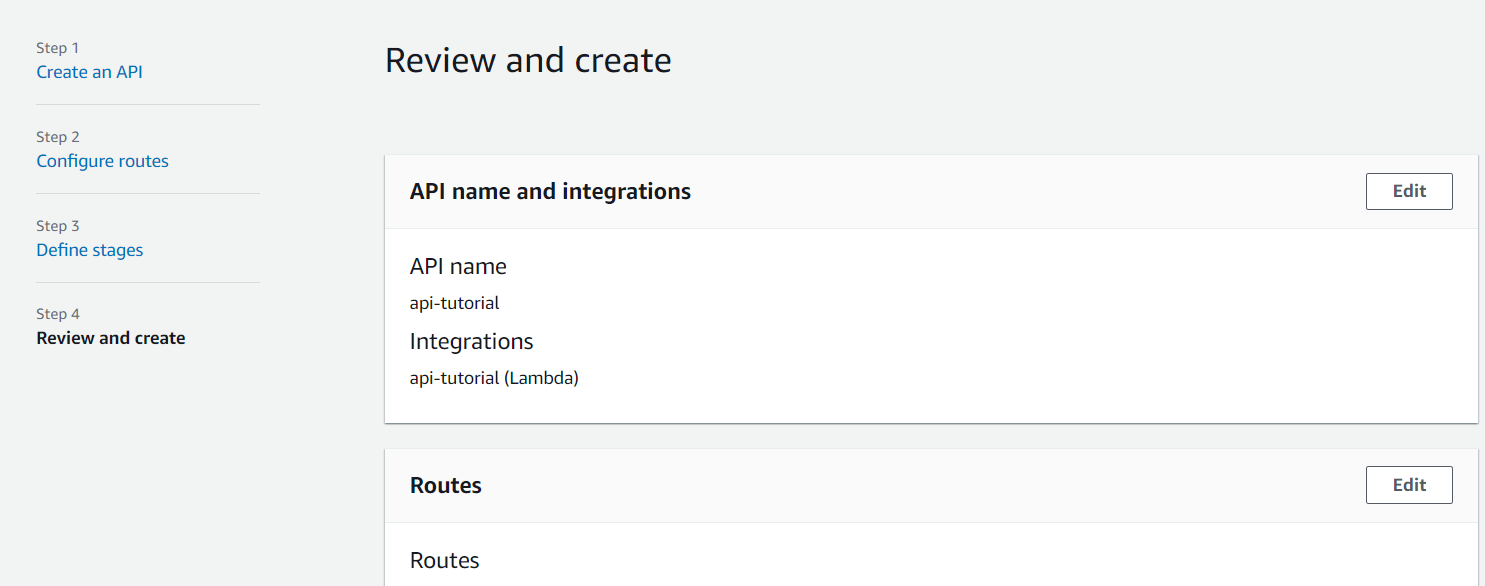
After that, just give your API a name and then you can click "Next" through the rest of the screens until you get to the "Review and Create" screen. You can then click "create" at the bottom.
Configuring CORS
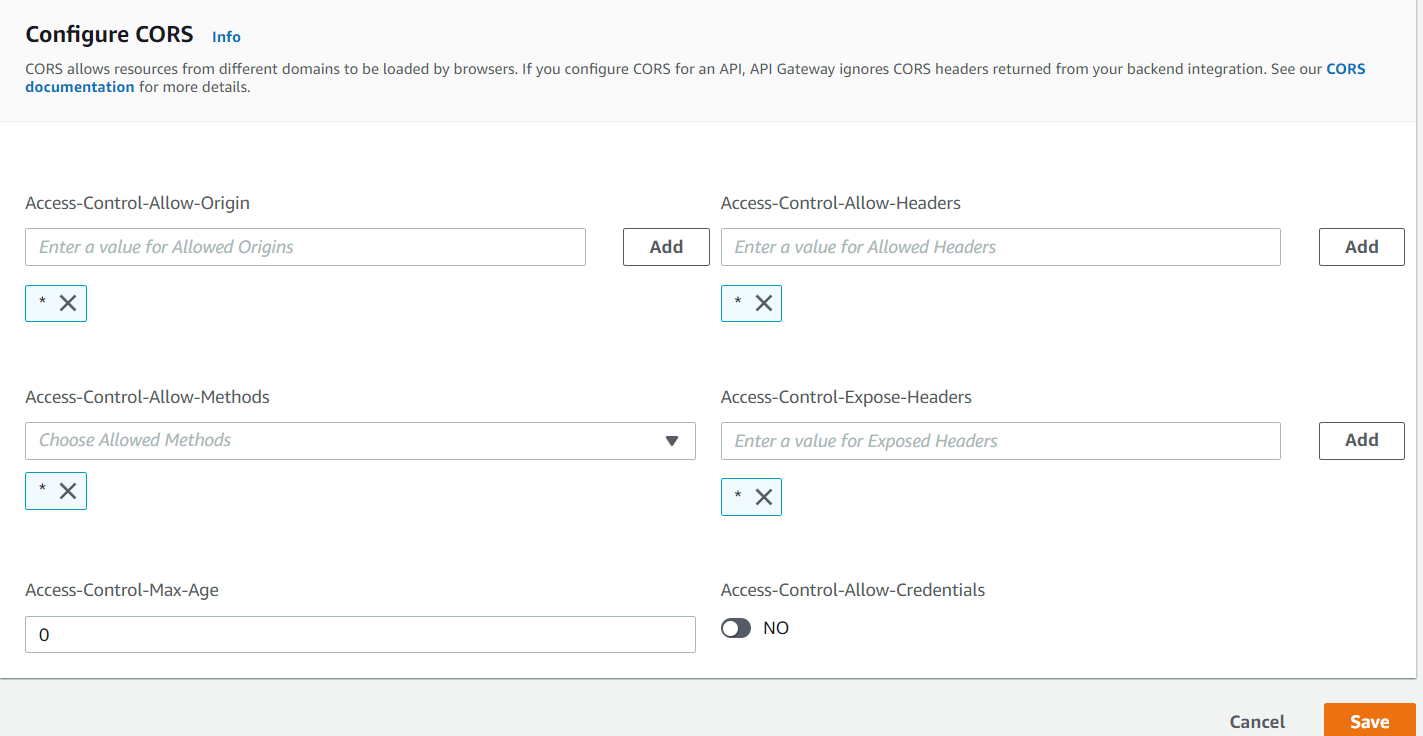
Now that we have created our API, lets finish configuring it. The first thing we will want to do is set up the CORS settings, which will determine which origins are able to access this API. If you are accessing your API from a website you are running, then you will most likely want to only have your API accessible from that website in order to improve security. For this tutorial we will go with a much simpler configuration which allows access from all origins, using the "*" wildcard.
Testing your API
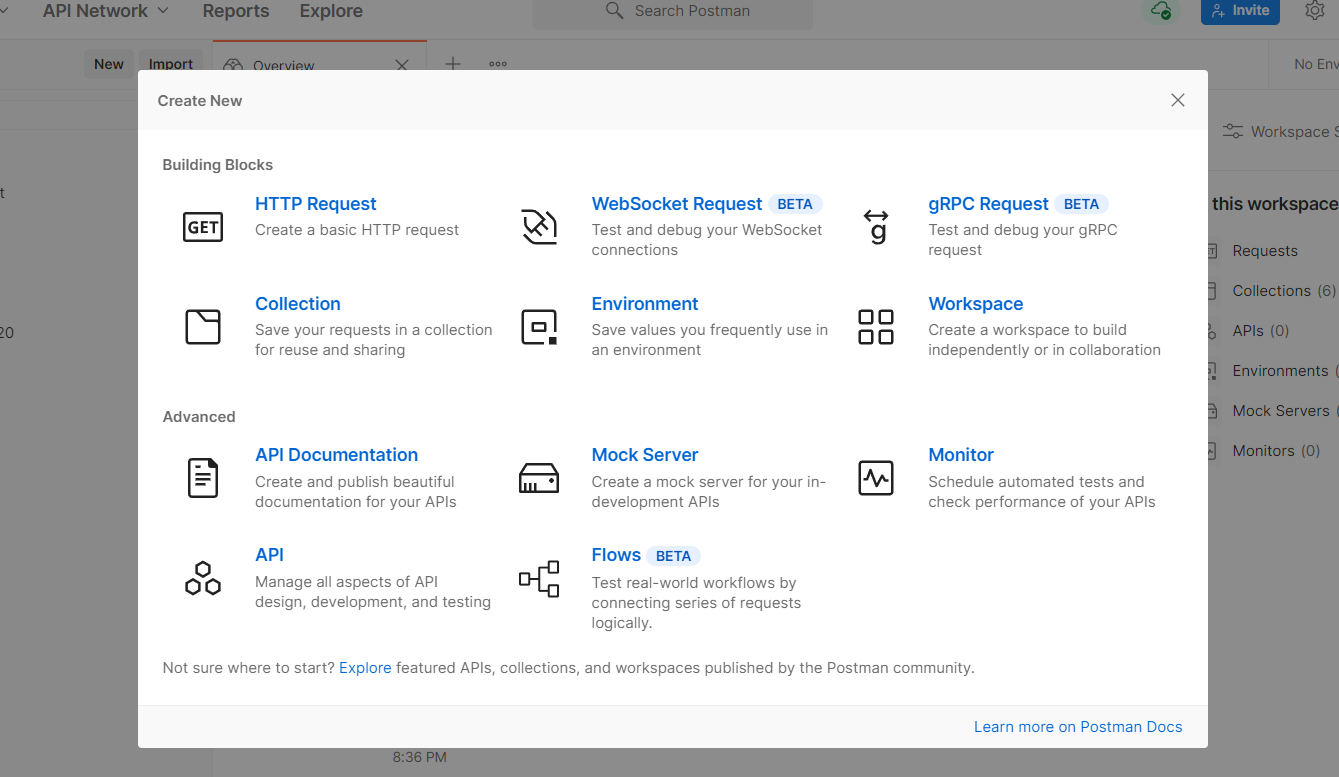
We're almost done! Now, the only thing left is to test our API. My preferred method for doing this is to use Postman. Navigate to Postman and create an account / sign in. Once you have done that, create a new HTTP request.
Next, paste in the Invoke URL of your API, plus the route of the endpoint you would like to test. Since in this tutorial we only have one route, that is the one we will use.
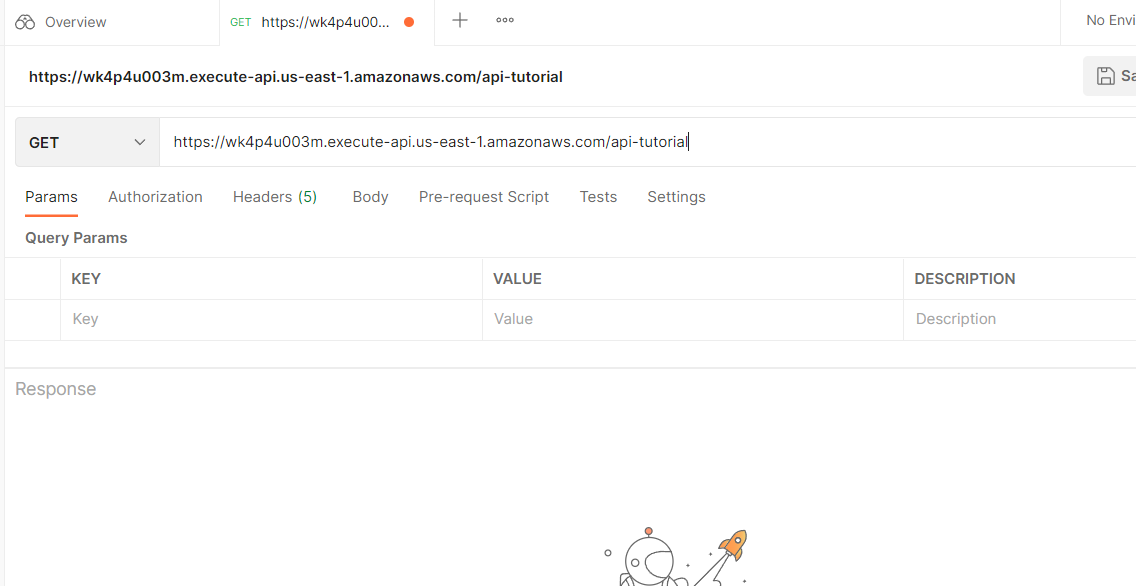
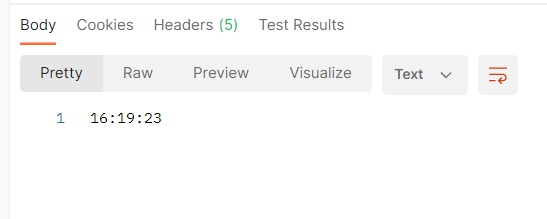
Lastly, all you have to do is click "Send". If all goes well, you will see the current time arrive in the Response window!
Next Steps
Now that you have created a simple API that can send the current time, you could now try putting this API request onto a website, or changing the API to send a different type of data. You can also change the API to interact with other services, such as the Arduino IOT cloud!